Table of Contents
GCA123 LocoNet® switch panel
Description
Have you ever been in the situation, sitting under your nice modelrailroad layout?
And did you then realise did you coudn't reach to the central to command a not very well funtioning turnout?
Of course there are nice options in LocoNet® with RocWeb, but it needs equipment like mobile phone.
The other option is to take the central station (IB, CSx or whatever) with you down under, but that unit is mostly fixed so that's not easy as well.
This is another option.
Using the same drawing of an GCA50, and adding 16 pushbuttons to it, that's all.
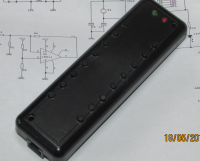
This GCA123 fits in the same box as GCA124 FredI.
Configuration is done in the same way as in GCA50.
The input numbers on GCA123 are numbered counter clockwise, starting top left.
The green led top left shows that power is on.
The red led top right shows LNet activity.
The used cable is a 6 wire RJ12 cable, like in standard LocoNet®, and can be of any length, up to 25 mtr.
Other feature
Without the box, this unit could be used to fix inside a switch panel.
With only one three wire cable, you have 8 turnouts under your command.
For thicker boards, where the button on GCA123 is not long enough to reach through, other buttons with longer pushing rod are available.
Assembling instructions
A few remarks have to be made to help you being succesfull with the production of this FredI.
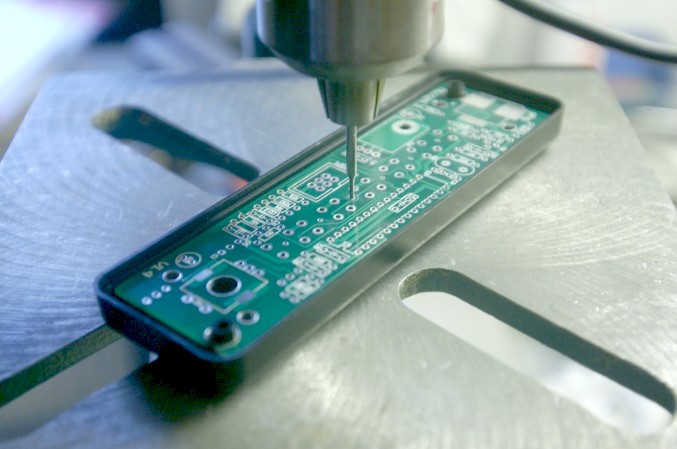
Fix the empty PCB with screws in it's future housing, and use it to drill the exact positions of the pushbuttons, SW2 and leds.
 Use the pcb as a mould for holes of pushbuttons, leds and SW2.
Pushbutton positions have a little center hole for this purpose.
All other parts can be mounted after that.
The pushbuttons and leds are mounted at the backside of the PCB.
Please take care not to use the center hole of the leds, because that one is only a drilling mould.
After a serious check, connect the pcb , without IC's inserted, to LocoNet. Check if 5 volt is correct between pt 19 and 20 in U1 socket.
The processor in the kit comes with set id number 81-1, which should be changed to anaything else between 1/126/1-126.
The final result
Hardware files
Firmware
The used firmware is exactly the same as GCA50.


